How to play PUBG on AWS

AWS GPU instances are known for deep learning purposes but they can also be used for running video games. This tutorial goes through how to set up your own EC2 GPU optimised instance to run the top-selling and most played game “PlayerUnknown’s Battlegrounds (PUBG)”.

To get started, make sure you are in the AWS region closest to you, select Microsoft Windows Server to be the AMI and set the instance type to be g2.2xlarge. The instance is backed by Nvidia Grid GPU (Kepler GK104), 8x hardware hyper-threads from an Intel Xeon E5–2670 and 15GB of RAM.


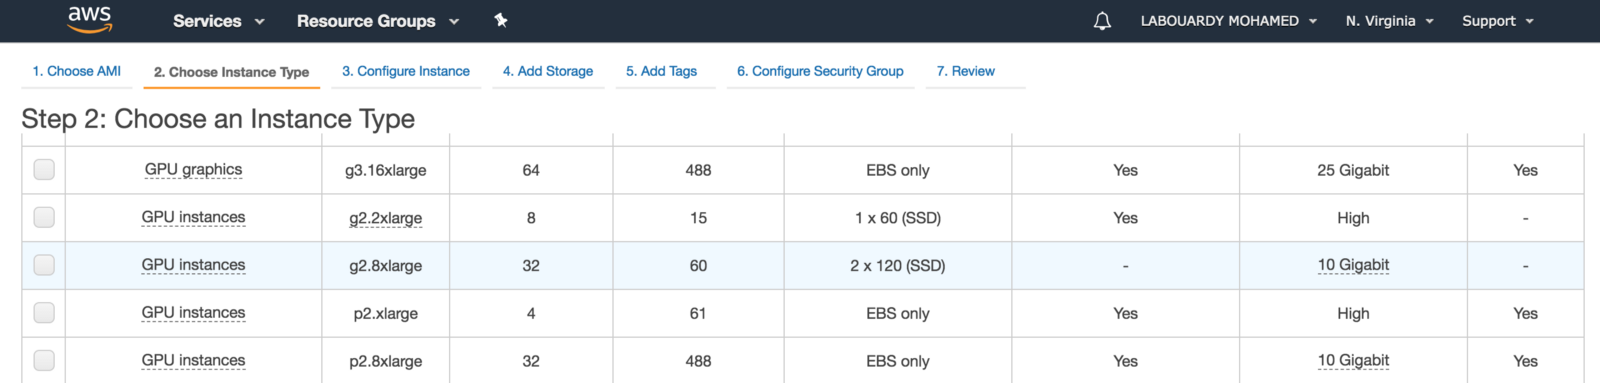
For games with resource-intensive, you should use the next generation of GPU instances: P2, P3 and G3 (have up to 4 NVIDIA Tesla M60 GPUs).

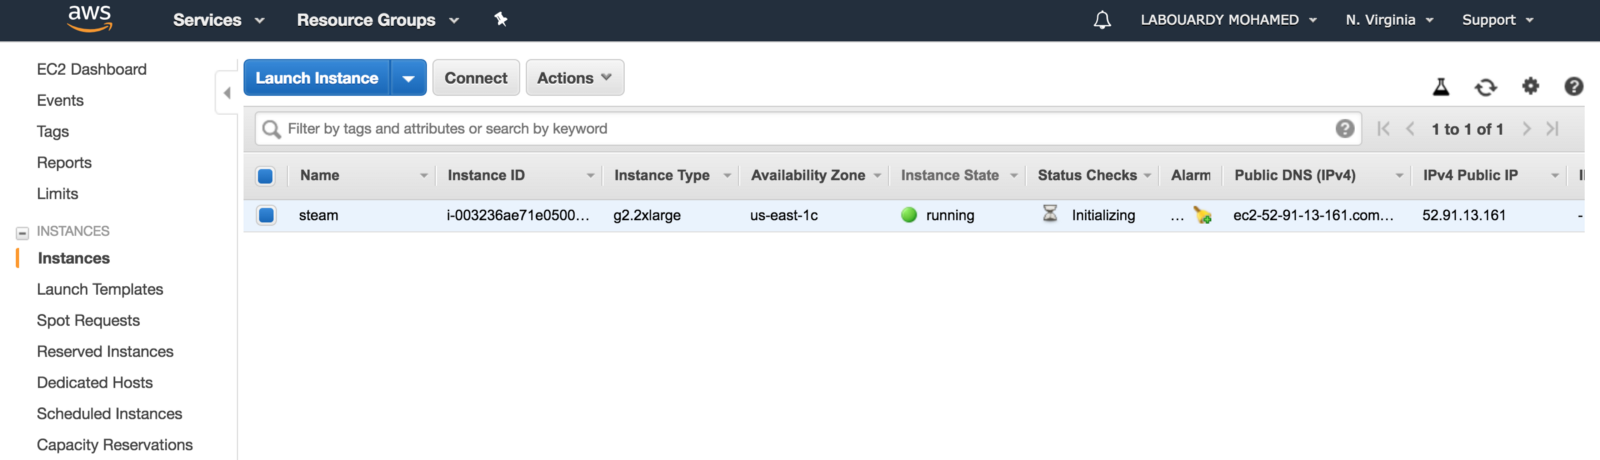
After this is done, click on “Launch Instances”, and you should see a screen showing that your instance is been created:


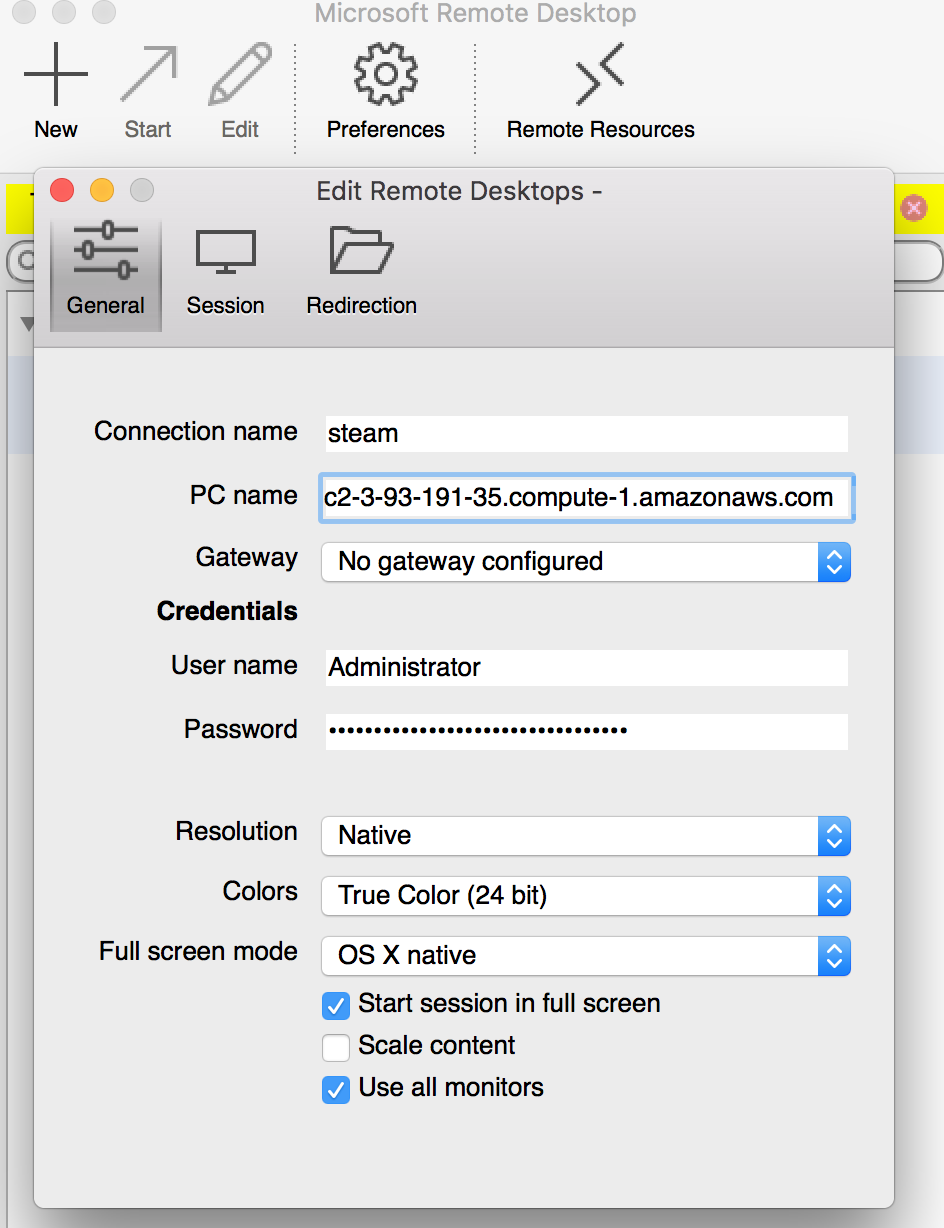
To connect to your Windows instance, you must retrieve the initial administrator password and specify this password when you connect to your instance using Remote Desktop:

Before you attempt to log in using Remote Desktop Connection, you must open port 3389 on the security group attached to your instance


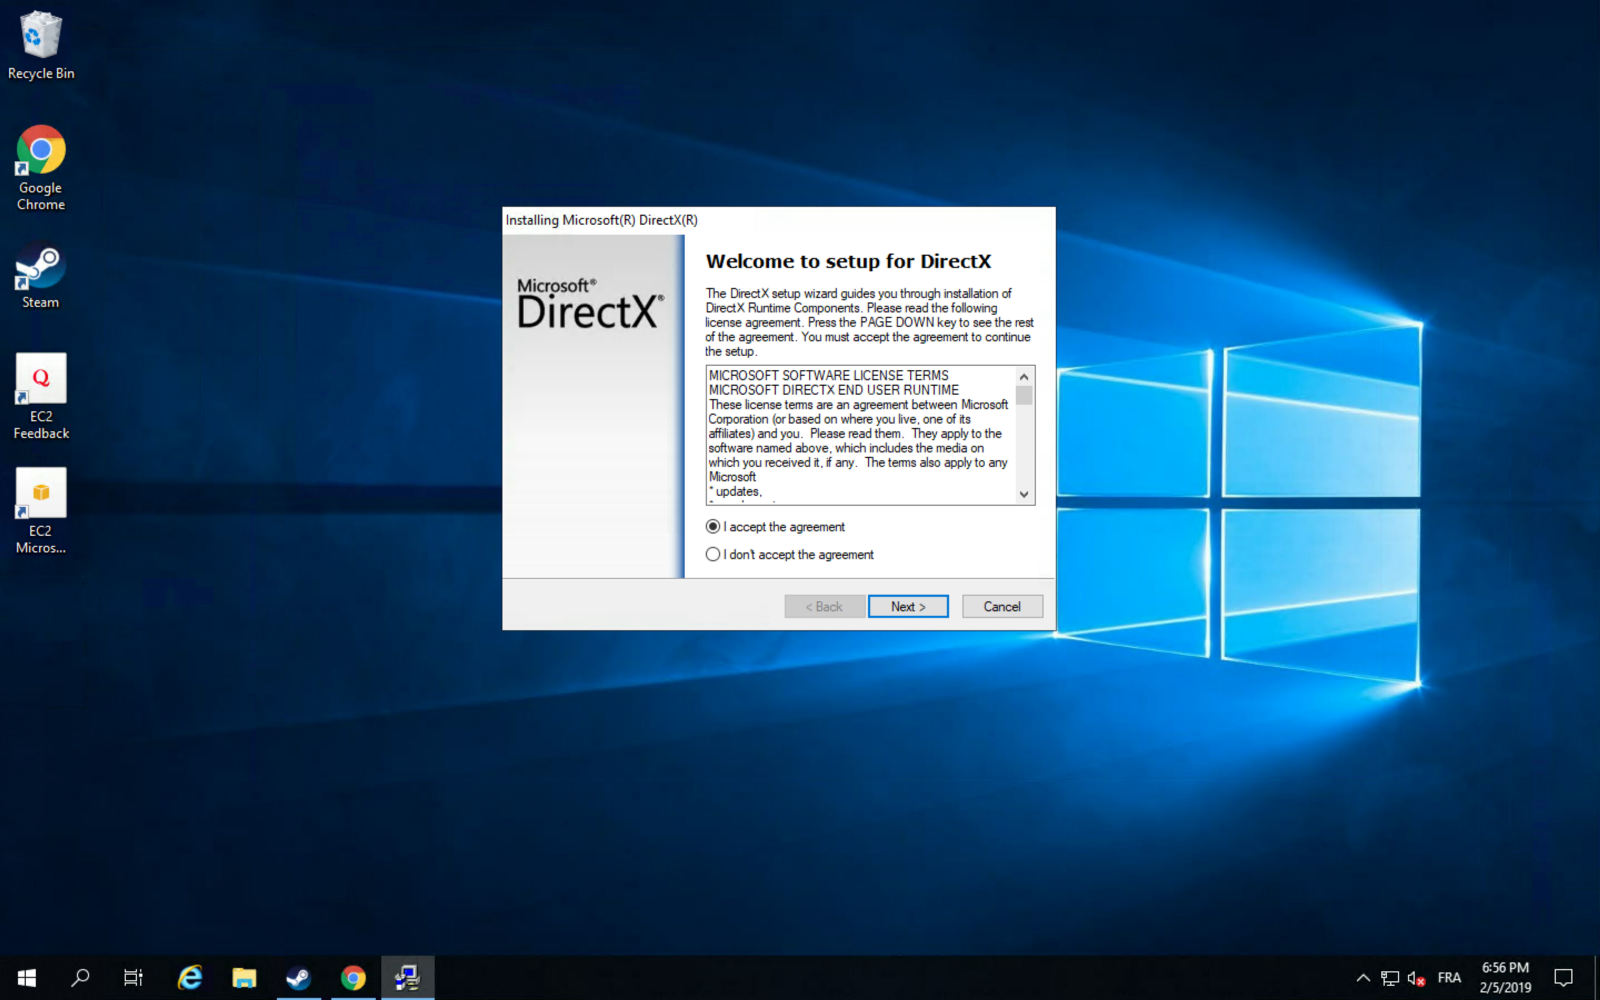
After you connect, install Microsoft Direct X11 after installing Chrome (it saves a lot of time):


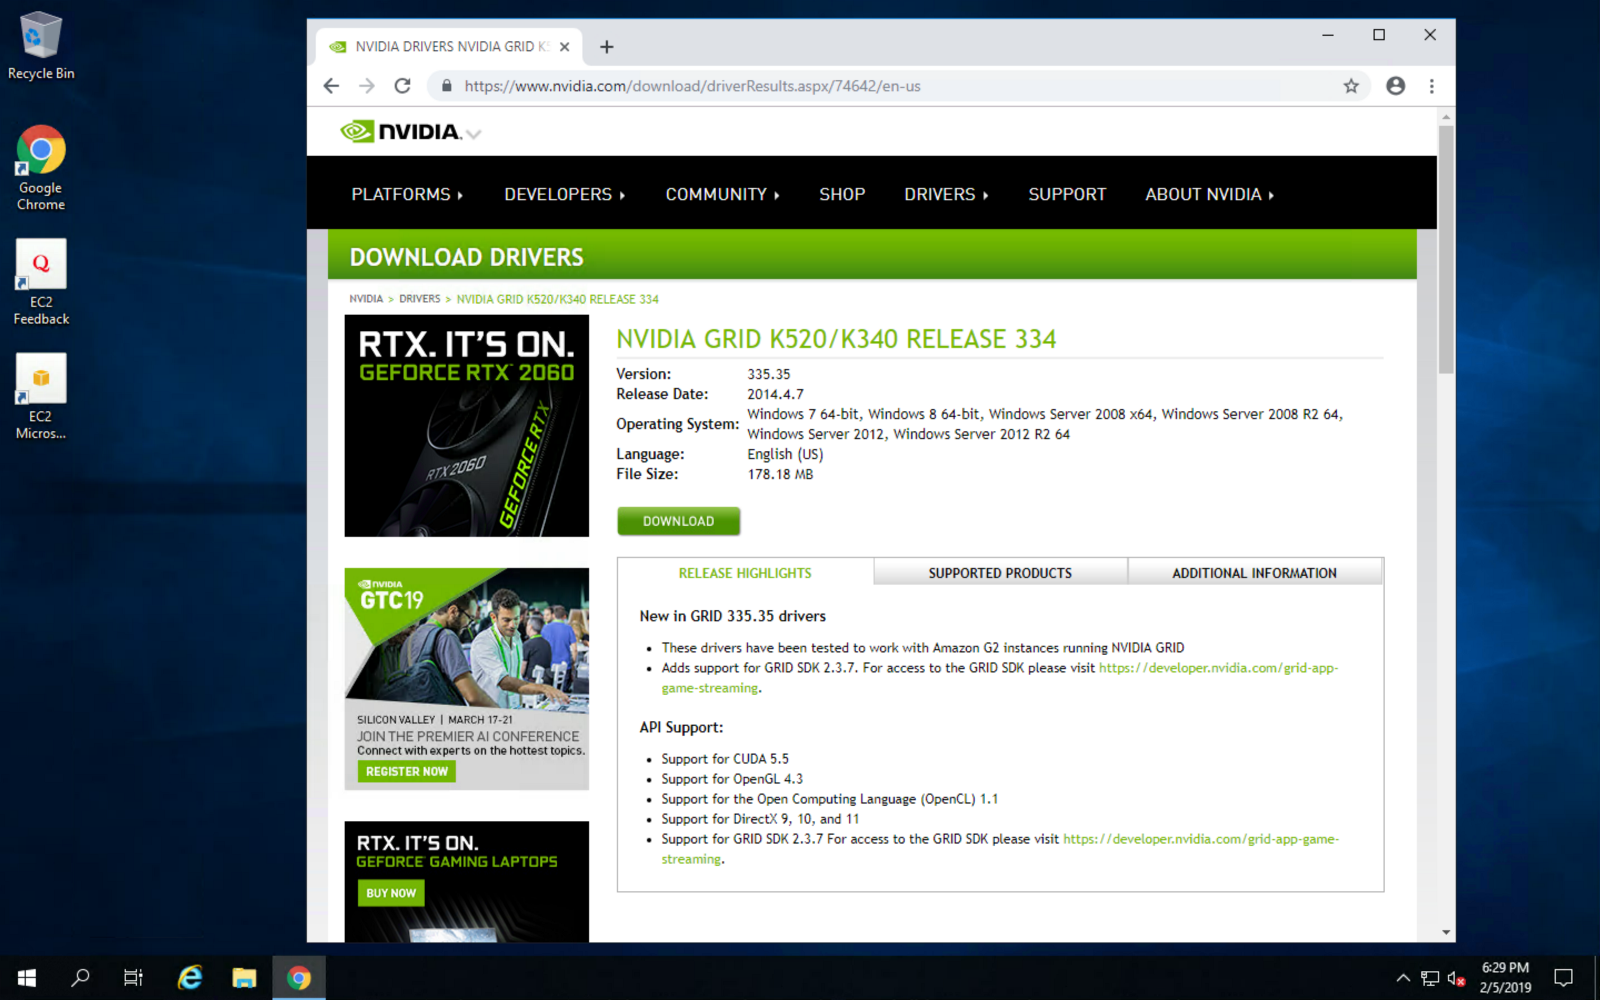
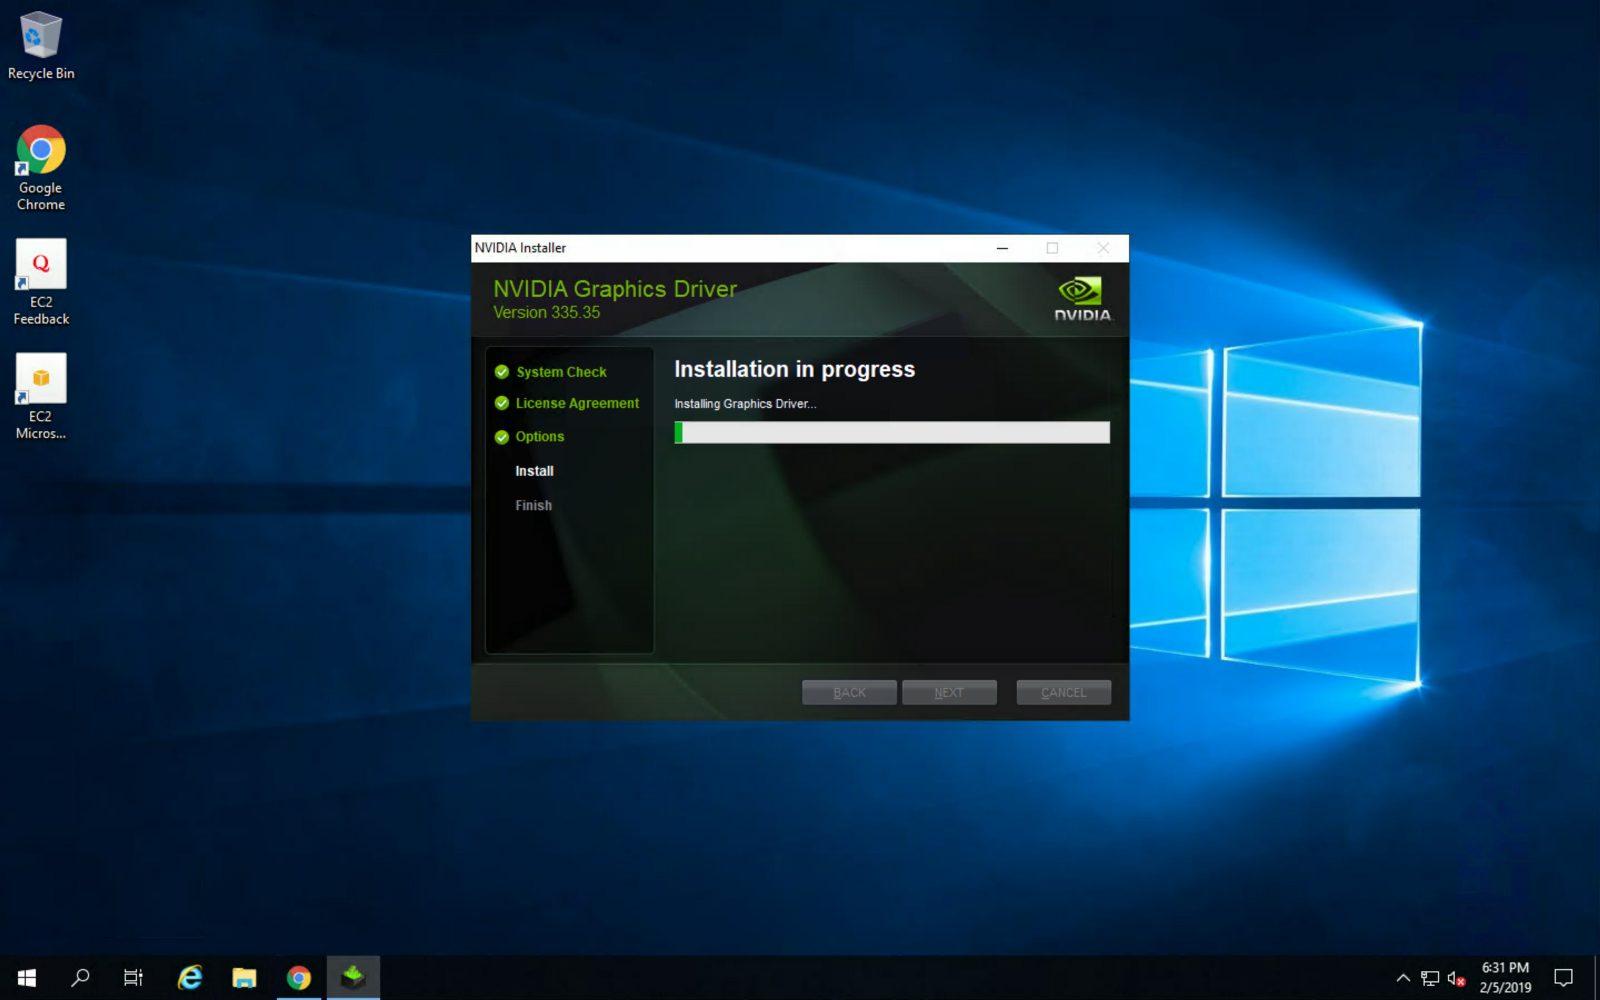
Next, install the graphic driver for maximum gaming performance:


Once installed, make sure to reboot the instance for changes to take effect:


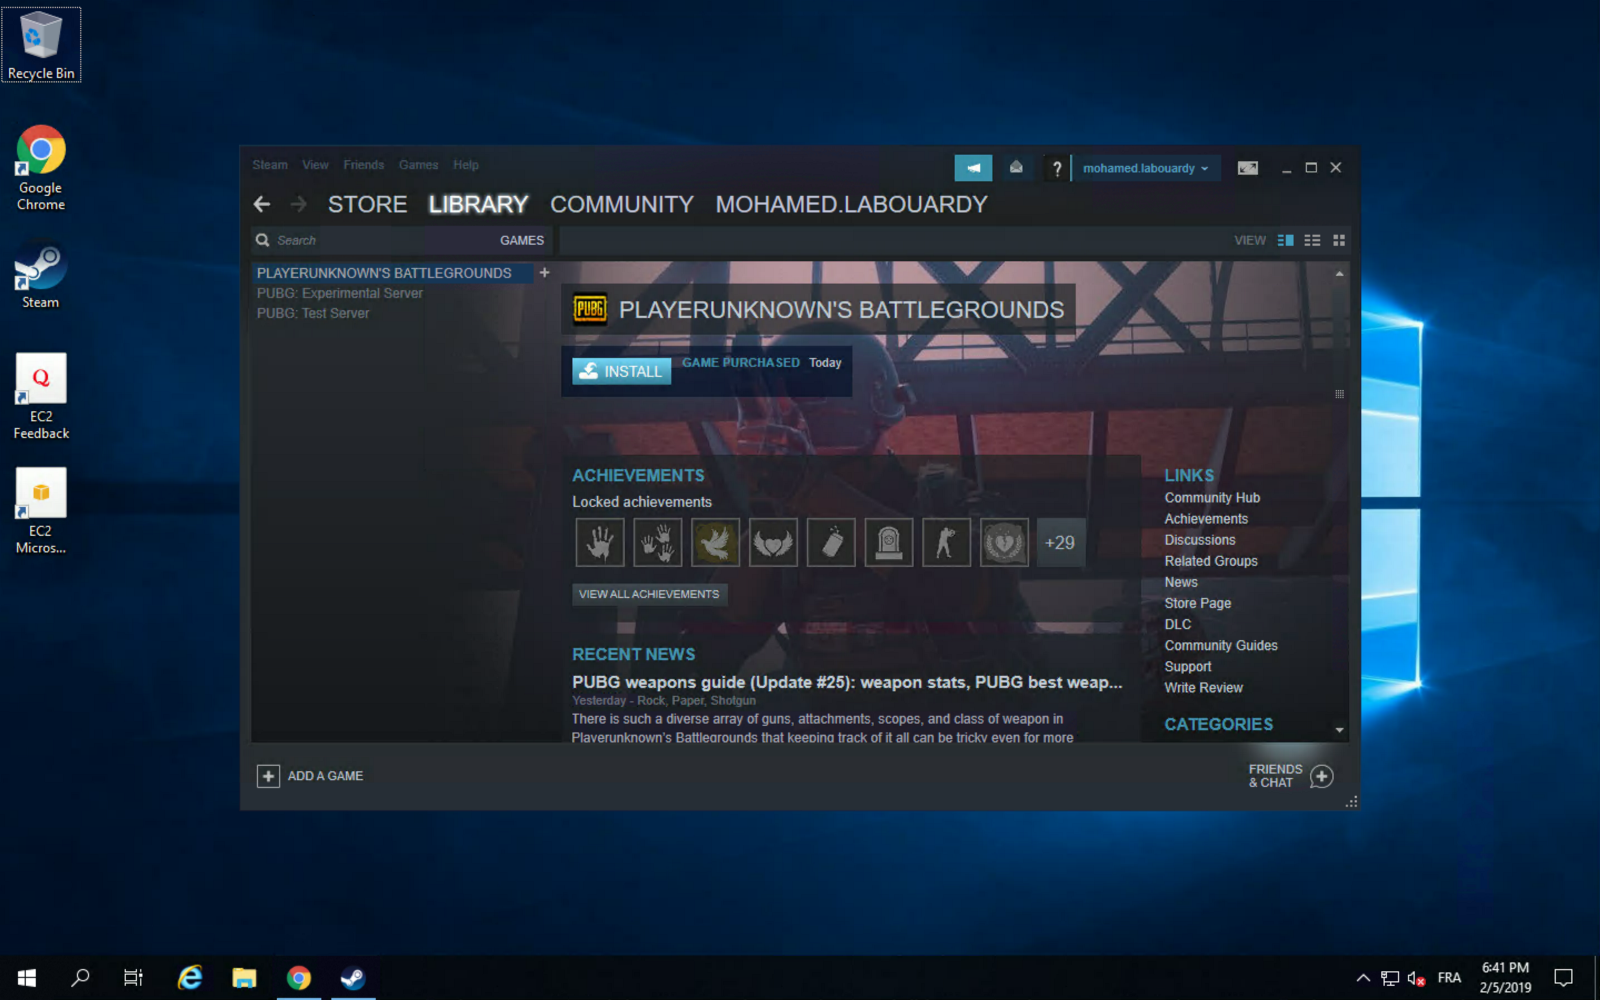
Then, install Steam, login using your account and install PUBG from the “Library” section:


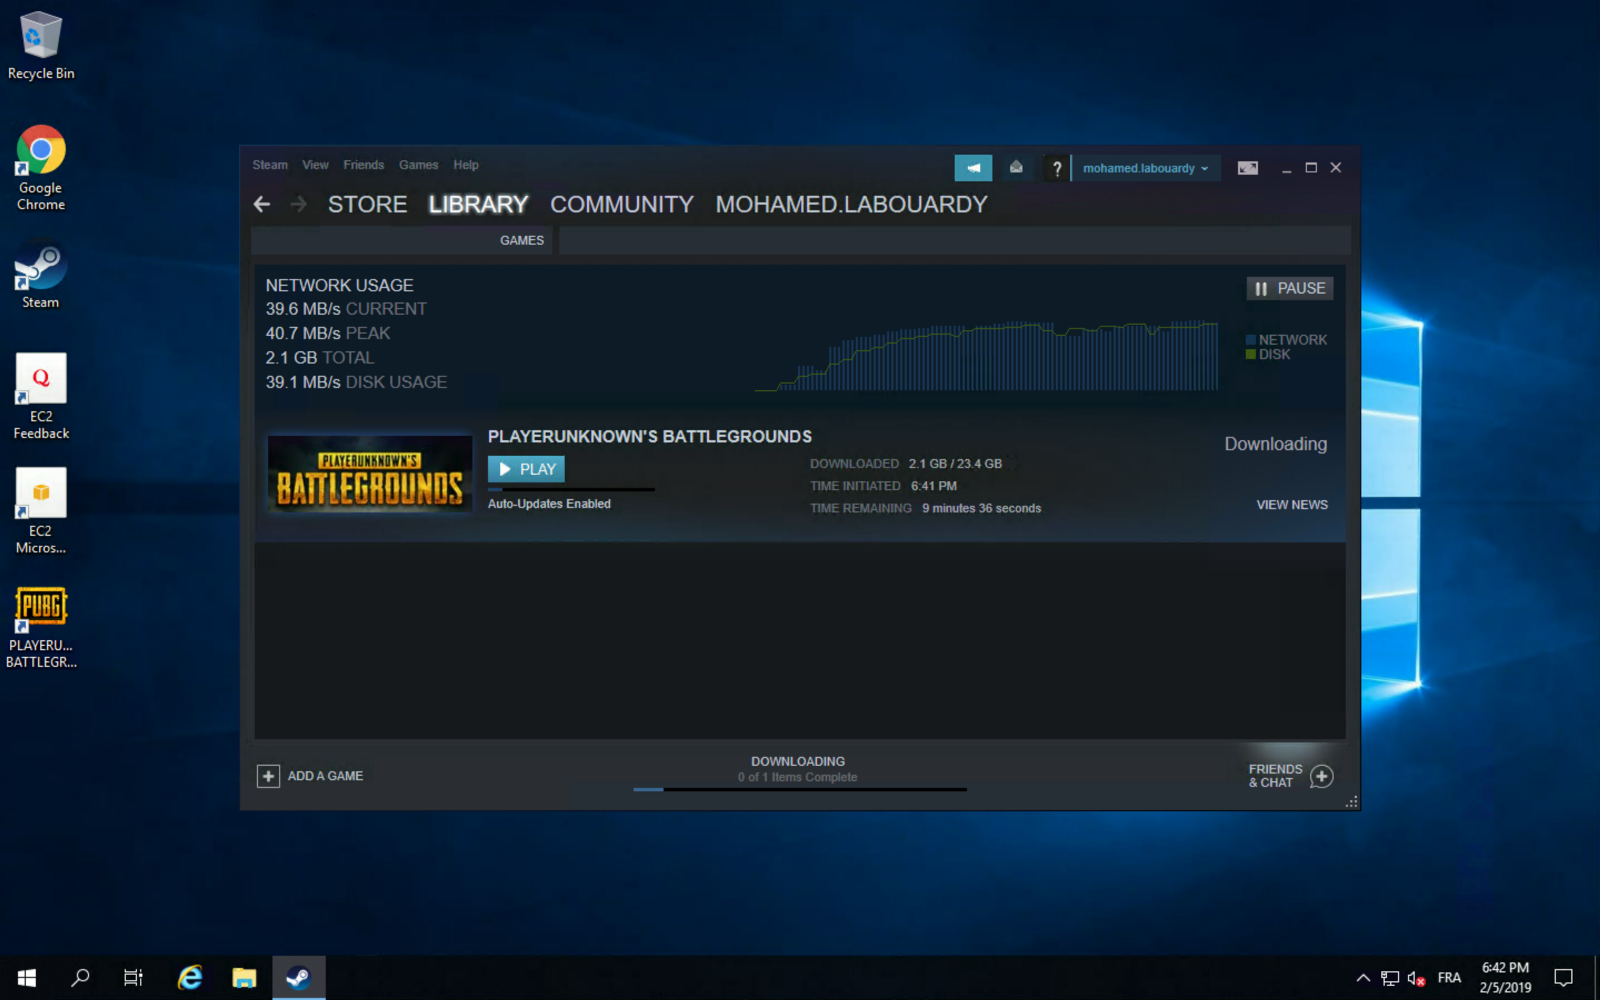
You can take advantage of AWS high network performance (up to 10 Gbps of bandwidth):


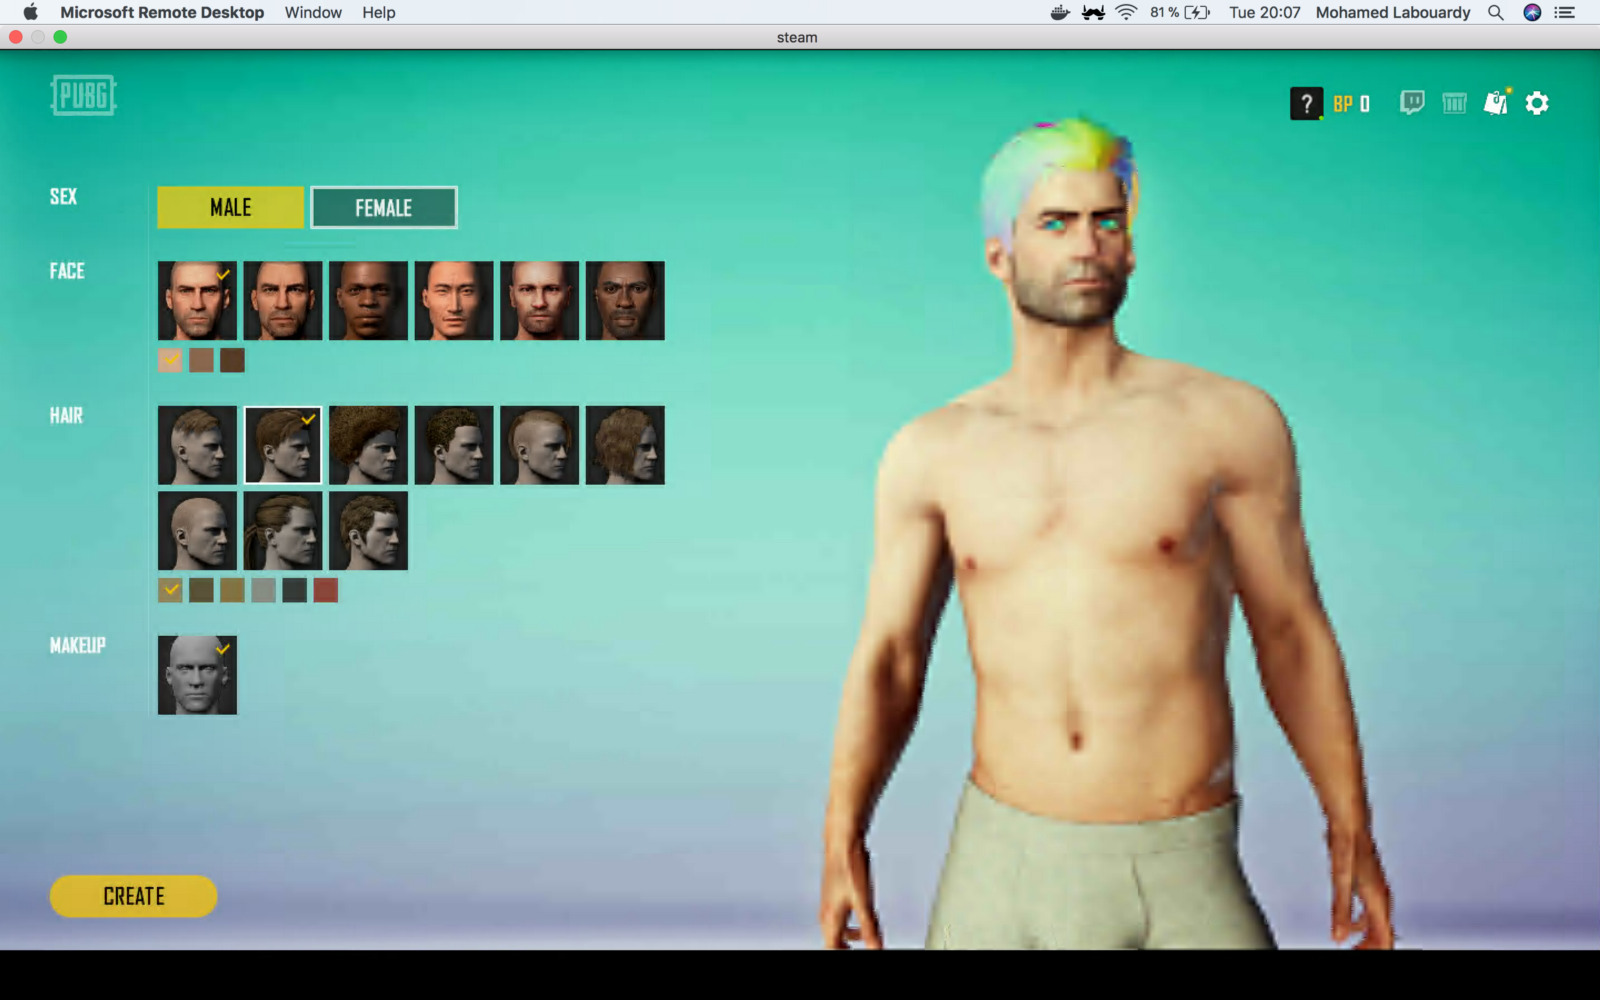
Once the game is installed, you can play PUBG on your virtualized GPU instance:


You can take this further, and use Steam In-Home Streaming feature to stream your game from your EC2 instance to your Mac:


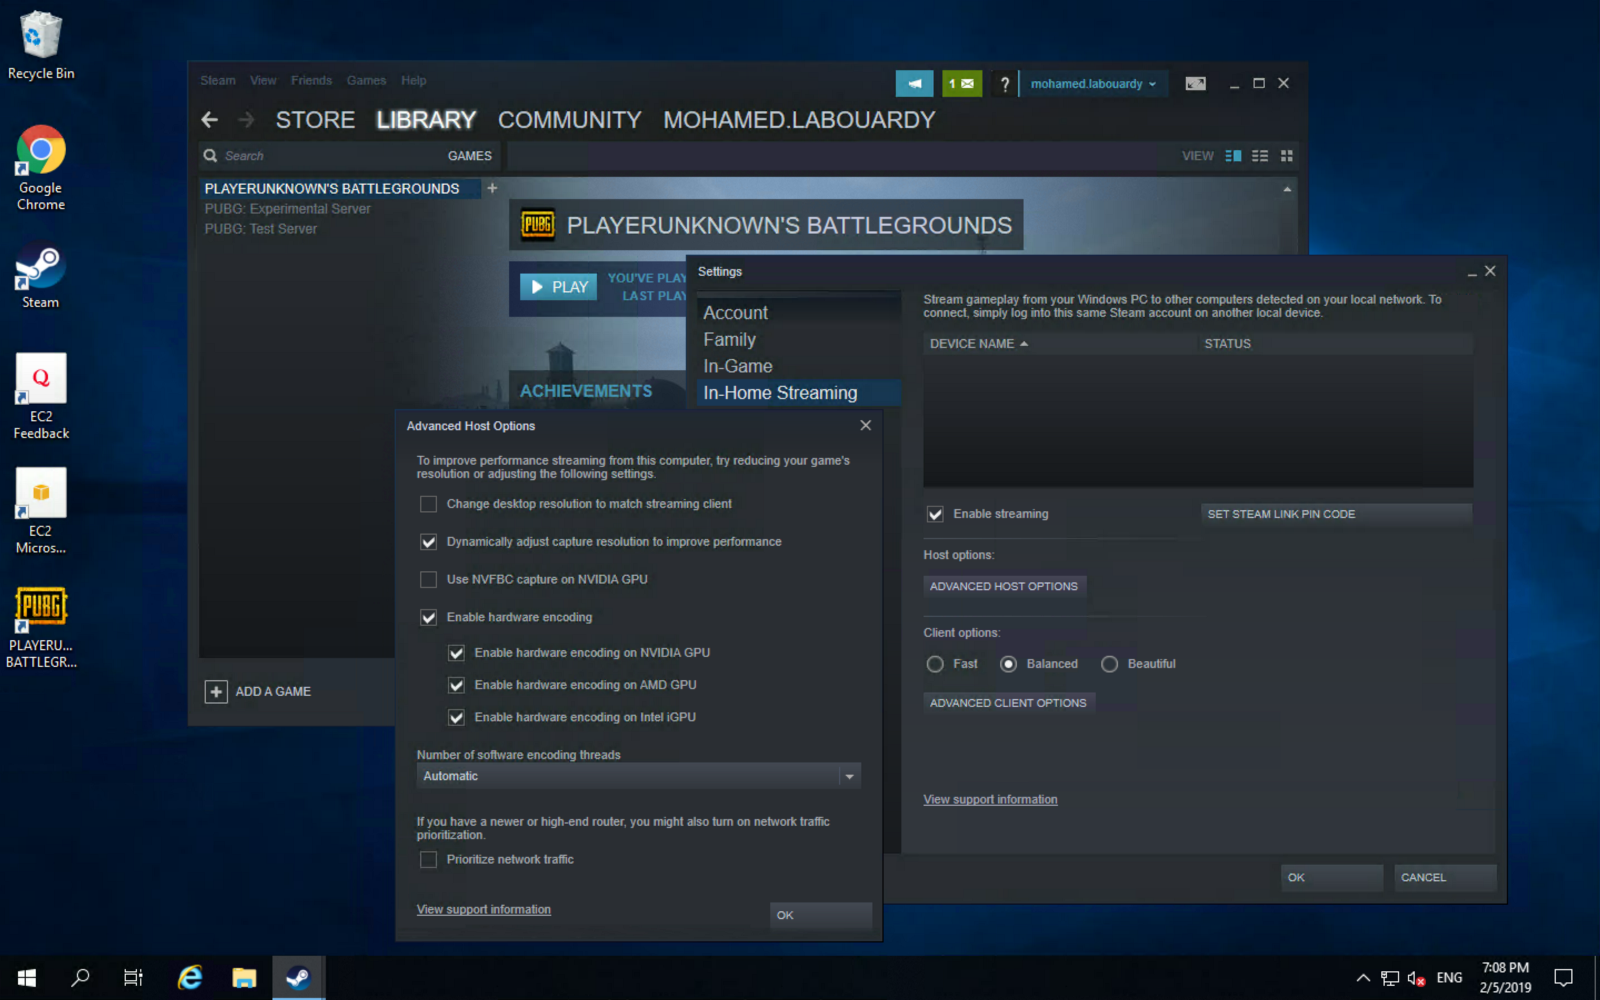
Enjoy the game ! you can now play your games on any device connected to the same network:


You might want to bake an AMI based on your instance to avoid set it up all again the next time you want to play and use spot instances to reduce the instance cost. Also, make sure to stop your instances when you’re done for the day to avoid incurring charges. GPU instances are costly (disk storage also costs something, and can be significant if you have a large disk footprint).

Drop your comments, feedback, or suggestions below — or connect with me directly on Twitter @mlabouardy.

Add new users to EC2 and give SSH Key access

In this quick post, I will show you how to add a new user to an EC2 instance and SSH with your own private key rather than having to authenticate using the private key generated by AWS.


Connect via SSH into your instance using its public IP:


Next, create a new user using the following command:

1
sudo adduser labouardy


Next, we switch the shell session to the new account:

1
sudo su labouardy

Create .ssh directory, and change the directory permission to 700 (only the file owner can read, write or open the directory):

1
2
mkdir .ssh
chmod 700 .ssh

Note: ensure you are in the new user’s home directory (example: /home/labouardy)

Create an empty file called authorized_keys in the .ssh directory and change its permissions to 600 (only the file owner can read or writ eto the file)

1
2
touch authorized_keys
chmod 600 authorized_keys


Finally, edit the authorized_keys file and past in your public key:


Once you’ve done this, exist out back to your machine, then try to SSH using the the new credential and user account you’ve created:


We now are logged in as user labouardy 😄

Drop your comments, feedback, or suggestions below — or connect with me directly on Twitter @mlabouardy.

Highly Available Bastion Hosts with Route53

Instances in a private subnet don’t have a public IP address, and without a VPN or a DirectConnect option, Bastion Host (JumpBox) is the expected mechanism to reach your servers. Therefore, we should make it Highly Available.

In this quick post, I will show you how to setup a Highly Available Bastion Hosts with the following targets :

  • Bastion hosts will be deployed in two Availability Zones to support immediate access across the VPC & withstand an AZ failure.
  • Elastic IP addresses are associated with the bastion instances to make sure the same trusted Elastic IPs are used at all times.
  • Bastion Hosts will be reachable via a permanent DNS entry configured with Route53.


In order to easily setup the infrastructure described above, I used Terraform:

1
2
git clone https://github.com/mlabouardy/terraform-aws-labs
cd bastion-highavailability

Note: I did a tutorial on how to the setup a VPC with Terraform so make sure to read it for more details.

Update the variables.tfvars file with your SSH Key Pair name and an existing Hosted Zone ID. Then, issue the following command:

1
terraform apply -var-file=variables.tfvars

That will bring up the VPC, and all the necessary resources:


Now in your AWS Management Console you should see the resources created:

EC2 Instances:


DNS Record:


Finally, create an SSH tunnel using the DNS record to your private instance:

1
ssh -f ec2-user@bastion.slowcoder.com -i /d/aws/vpc.pem -L 2800:10.0.3.218:22 -N

Once done, you should now be able to access to your private instances via SSH:

1
ssh ec2-user@localhost -p 2800 -i /d/aws/vpc.pem


Take it further ? instead of defining number of bastion hosts, we could use a bastion host inside an autoscaling group with min target set to 1.

Drop your comments, feedback, or suggestions below — or connect with me directly on Twitter @mlabouardy.

Your browser is out-of-date!

Update your browser to view this website correctly. Update my browser now

×